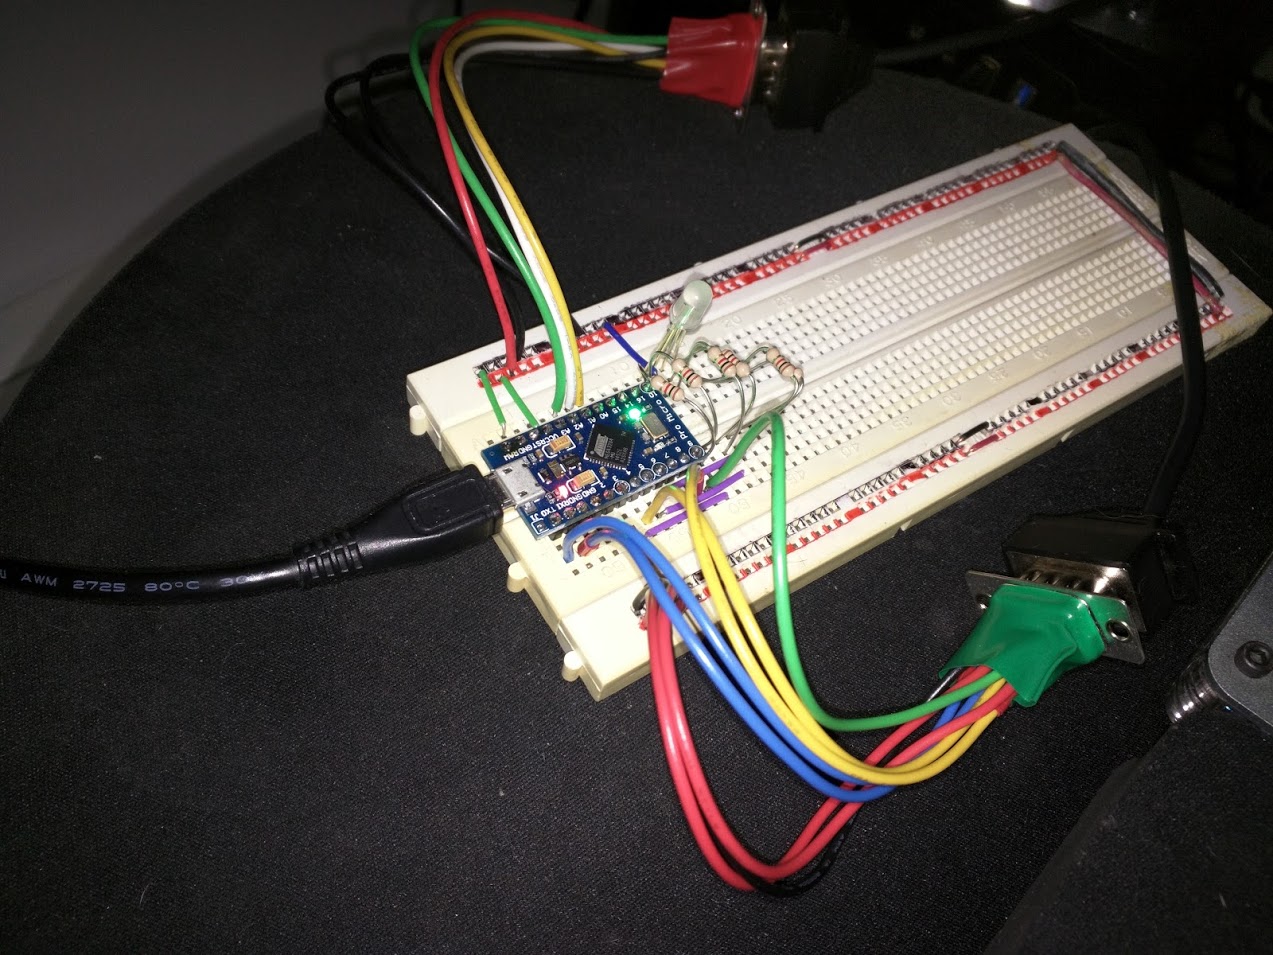
| Altoids Tin.jpg | ||
| Breadboard.jpg | ||
| G27_Pedals_and_Shifter.ino | ||
| README.md | ||
G27 Pedals and Shifter
Arduino-based USB interface for Logitech G27 pedals and shifter:
 

Required Parts/Materials
- SparkFun Pro Micro or clone (must be a 5V/16MHz ATmega32U4 with onboard USB)
- DB9 Connectors 1 male, 1 female
- Hookup wire in assorted colors (I used red, black, blue, green, purple, yellow, orange, and white)
- Some kind of project box (I used an Altoids tin)
Assembly
Connect the female DB9 connector for the pedals to the board using the pins in the table in the .ino file. Do the same with the male DB9 for the shifter.
NOTE: when wiring the male connector for the shifter, remember that the pins will read right to left rather than left to right.
Software
Open the .ino file in the Arduino IDE, select the proper board type and COM port under "Tools" (you will need to install the SparkFun board library). You will probably need to adjust the thresholds for SHIFTER_XAXIS_12 and friends, the values that decide which gear you're in based on the x/y axis of the shifter. Uncomment the #define DEBUG_SHIFTER true line near the top to get debugging information to aid in this process.