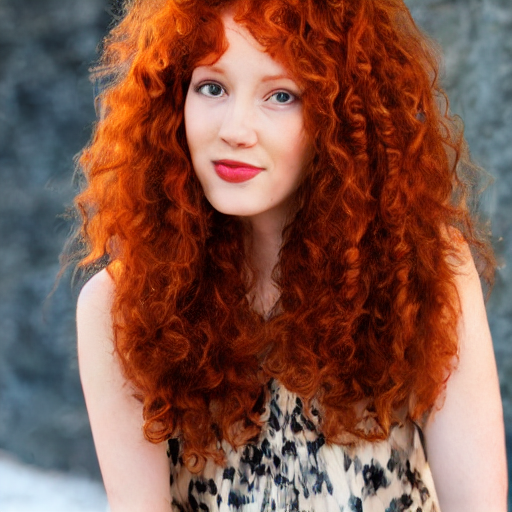
 **000019.curly.hair.selected.png**
 **000019.curly.hair.deselected.png**
 **000019.curly.hair.masked.png**
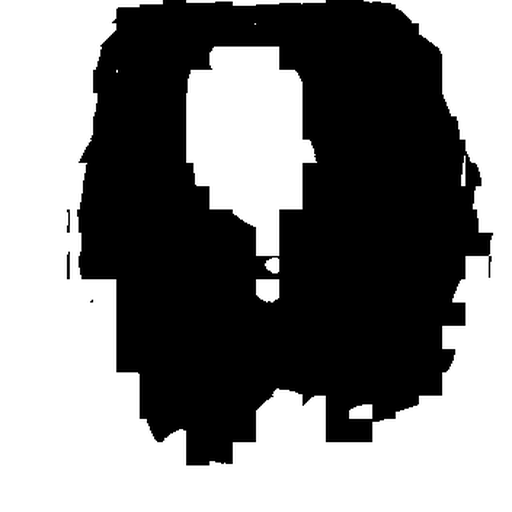 It looks like we selected the hair pretty well at the 0.5 threshold
(which is the default, so we didn't actually have to specify it), so
let's have some fun:
```
invoke> medusa with cobras -I ./test-pictures/curly.png -M 000019.curly.hair.masked.png -C20
>> loaded input image of size 512x512 from ./test-pictures/curly.png
...
Outputs:
[946] outputs/img-samples/000024.801380492.png: "medusa with cobras" -s 50 -S 801380492 -W 512 -H 512 -C 20.0 -I ./test-pictures/curly.png -A k_lms -f 0.75
```
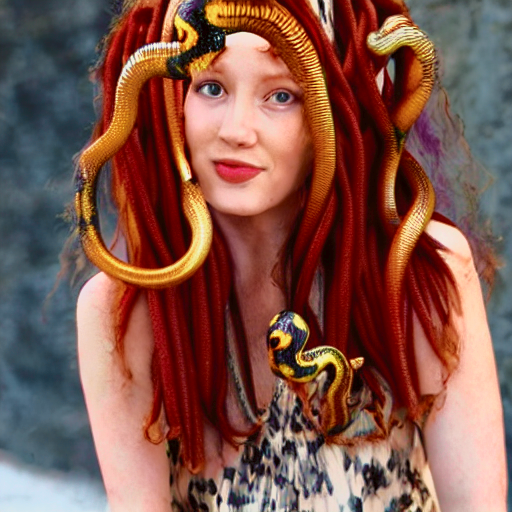 You can also skip the `!mask` creation step and just select the masked
region directly:
```
invoke> medusa with cobras -I ./test-pictures/curly.png -tm hair -C20
```
### Inpainting is not changing the masked region enough!
One of the things to understand about how inpainting works is that it
is equivalent to running img2img on just the masked (transparent)
area. img2img builds on top of the existing image data, and therefore
will attempt to preserve colors, shapes and textures to the best of
its ability. Unfortunately this means that if you want to make a
dramatic change in the inpainted region, for example replacing a red
wall with a blue one, the algorithm will fight you.
You have a couple of options. The first is to increase the values of
the requested steps (`-sXXX`), strength (`-f0.XX`), and/or
condition-free guidance (`-CXX.X`). If this is not working for you, a
more extreme step is to provide the `--inpaint_replace 0.X` (`-r0.X`)
option. This value ranges from 0.0 to 1.0. The higher it is the less
attention the algorithm will pay to the data underneath the masked
region. At high values this will enable you to replace colored regions
entirely, but beware that the masked region mayl not blend in with the
surrounding unmasked regions as well.
---
## Recipe for GIMP
[GIMP](https://www.gimp.org/) is a popular Linux photoediting tool.
1. Open image in GIMP.
2. Layer->Transparency->Add Alpha Channel
3. Use lasso tool to select region to mask
4. Choose Select -> Float to create a floating selection
5. Open the Layers toolbar (^L) and select "Floating Selection"
6. Set opacity to a value between 0% and 99%
7. Export as PNG
8. In the export dialogue, Make sure the "Save colour values from
transparent pixels" checkbox is selected.
---
## Recipe for Adobe Photoshop
1. Open image in Photoshop
2. Use any of the selection tools (Marquee, Lasso, or Wand) to select the area you desire to inpaint.

3. Because we'll be applying a mask over the area we want to preserve, you should now select the inverse by using the ++shift+ctrl+i++ shortcut, or right clicking and using the "Select Inverse" option.
4. You'll now create a mask by selecting the image layer, and Masking the selection. Make sure that you don't delete any of the underlying image, or your inpainting results will be dramatically impacted.

5. Make sure to hide any background layers that are present. You should see the mask applied to your image layer, and the image on your canvas should display the checkered background.

6. Save the image as a transparent PNG by using `File`-->`Save a Copy` from the menu bar, or by using the keyboard shortcut ++alt+ctrl+s++
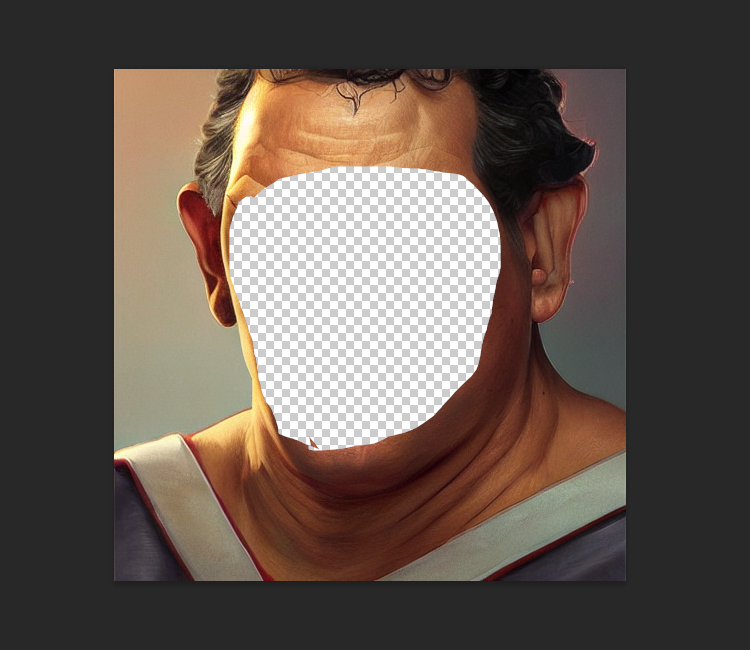
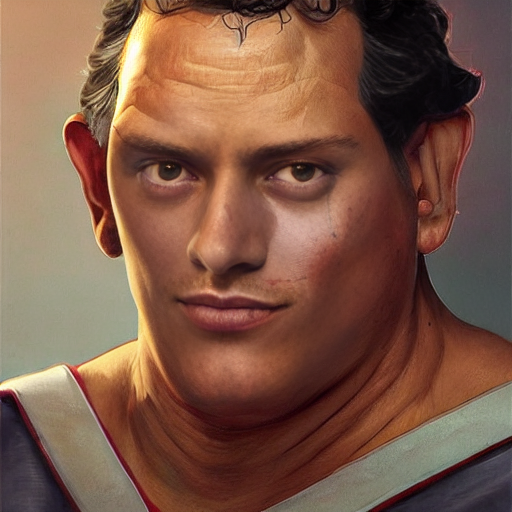
7. After following the inpainting instructions above (either through the CLI or the Web UI), marvel at your newfound ability to selectively invoke. Lookin' good!
8. In the export dialogue, Make sure the "Save colour values from transparent pixels" checkbox is selected.
 You can selectively mask out the
orange and replace it with a baseball in this way:
~~~
invoke> a baseball -I /path/to/still_life.png -tm orange
~~~
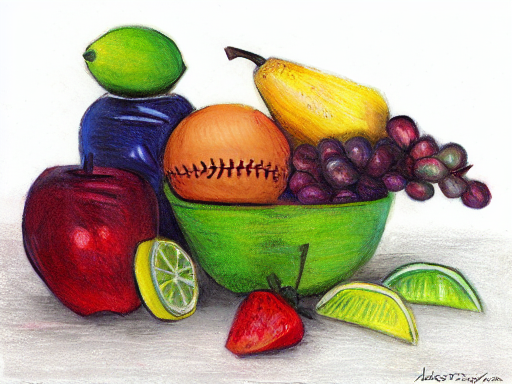 The clipseg classifier produces a confidence score for each region it
identifies. Generally regions that score above 0.5 are reliable, but
if you are getting too much or too little masking you can adjust the
threshold down (to get more mask), or up (to get less). In this
example, by passing `-tm` a higher value, we are insisting on a tigher
mask. However, if you make it too high, the orange may not be picked
up at all!
~~~
invoke> a baseball -I /path/to/breakfast.png -tm orange 0.6
~~~
The `!mask` command may be useful for debugging problems with the
text2mask feature. The syntax is `!mask /path/to/image.png -tm