mirror of
https://github.com/n-e-y-s/G27_Pedals_and_Shifter.git
synced 2024-08-30 18:22:10 +00:00
48 lines
2.5 KiB
Markdown
48 lines
2.5 KiB
Markdown
# G27 Pedals and Shifter
|
|
|
|
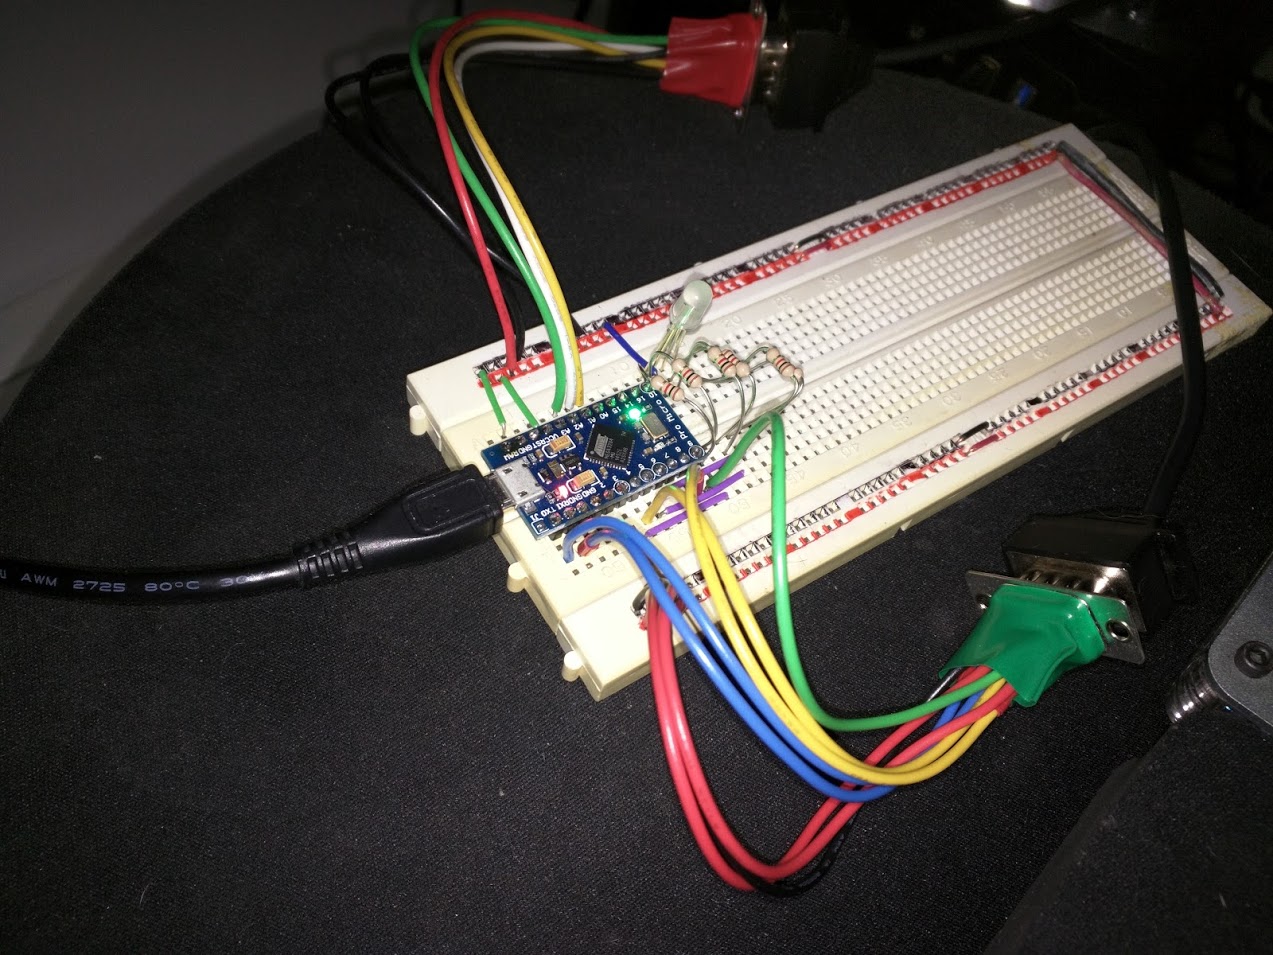
Arduino-based USB interface for Logitech G27 pedals and shifter:
|
|
|
|

|
|

|
|
|
|
## Required Parts/Materials
|
|
|
|
* [SparkFun Pro Micro](https://www.sparkfun.com/products/12640) or clone (must be a 5V/16MHz ATmega32U4 with onboard USB)
|
|
* [DB9 Connectors](http://www.amazon.com/Female-Male-Solder-Adapter-Connectors/dp/B008MU0OR4/ref=sr_1_1?ie=UTF8&qid=1457291922&sr=8-1&keywords=db9+connectors) 1 male, 1 female
|
|
* Hookup wire in assorted colors (I used red, black, blue, green, purple, yellow, orange, and white)
|
|
* Some kind of project box (I used an Altoids tin)
|
|
|
|
## Assembly
|
|
|
|
Connect the female DB9 connector for the pedals to the board using the pins in the table in the .ino file. Do the same with the male DB9 for the shifter.
|
|
|
|
NOTE: when wiring the male connector for the shifter, remember that the pins will read right to left rather than left to right.
|
|
|
|
## Firmware
|
|
|
|
Open the .ino file in the Arduino IDE, select the proper board type and COM port under "Tools" (you will need to install the [SparkFun board library](https://github.com/sparkfun/Arduino_Boards)).
|
|
|
|
## Calibration and Configration
|
|
|
|
After the firmware has been uploaded to the arduino, you want to calibrate and configure the SW for your specific device. There is a python-based graphical user interface available in this project.
|
|
|
|
### GUI installation
|
|
This description assumes a windows operating system. Other operating systems are similar. You need python for running this GUI, I suggest to get the interpreter at http://winpython.github.io/. I'd choose the minimal python 3.7 64 bit version, but other versions or distributions should also work. When you have a python interpreter in place, I suggest to create a virtual environment using the shell commands:
|
|
|
|
cd <a path of your choice>
|
|
python -m venv g27calib
|
|
|
|
This command creates a virtual python environment in the directory g27calib. Afterwards you can install the GUI with (assuming Windows platform)
|
|
|
|
.\g27calib\Scripts\pip install -e git+https://github.com/n-e-y-s/G27_Pedals_and_Shifter@n-e-y-s_devel#egg=G27_Pedals_and_Shifter_GUI
|
|
|
|
The python packager downloads some stuff from the internet and finally you are able to start
|
|
|
|
g27calib/Scripts/g27calib
|
|
|
|
and the gui should open.
|
|
|
|
### Calibration process
|
|
|
|
TODO
|